
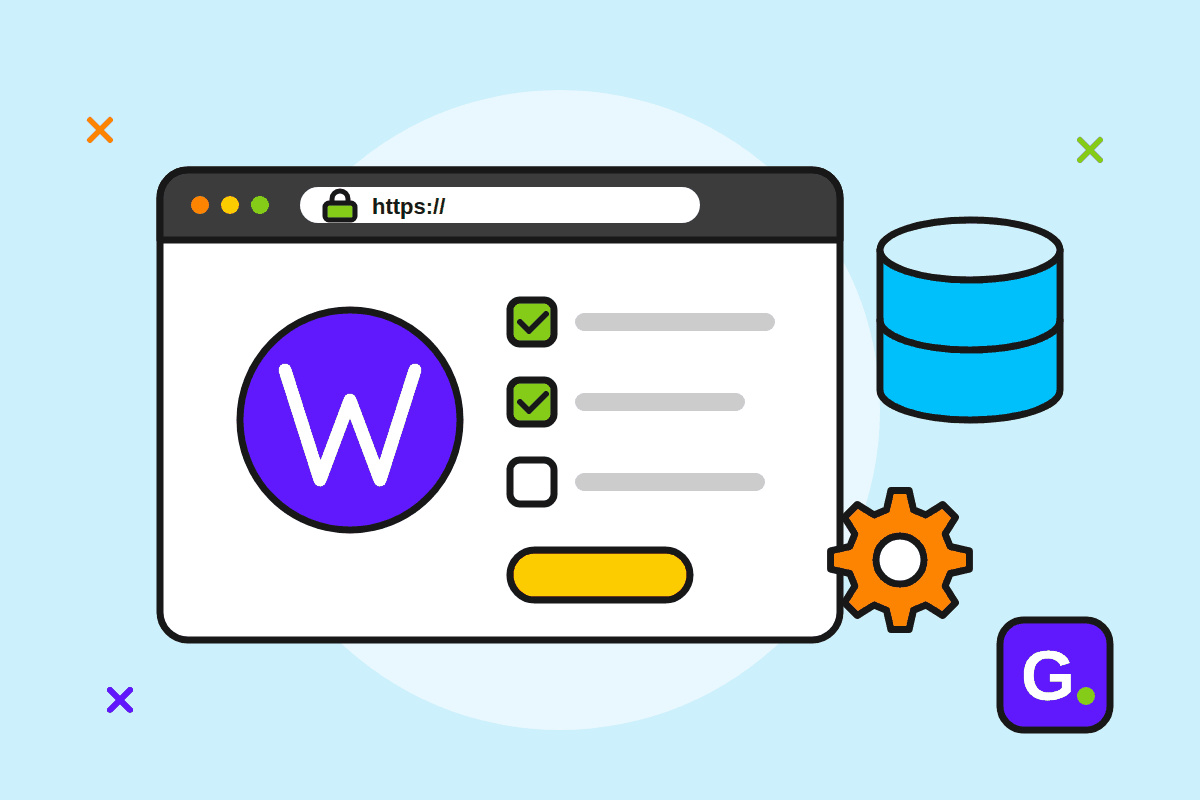
You can install WordPress on your hosting in two ways: with the one-click installer in your control panel, in a few minutes, or manually, by creating the database and the wp-config.php file and uploading the files yourself. We walk you through both, plus the settings to change right after installing so your site starts out secure and tidy.
Before you install
- Your domain points to your hosting. The nameservers or the A record must already be set and propagated. Otherwise you'd be installing on a site you can't see yet.
- Your domain has an SSL certificate, or you know how to enable one. It's easier to install WordPress straight on
https://than to change the address afterwards. Check what your plan includes. - Your hosting meets the WordPress requirements. At the time of writing, wordpress.org recommends PHP 8.3 or newer, MySQL 8.0+ or MariaDB 10.11+, and HTTPS support. You can usually pick the PHP version in the control panel.
Option 1: the one-click installer (recommended)
Many control panels include an app installer. In cPanel, for example, it's usually called Softaculous or "WordPress Manager". The steps are much the same everywhere:
- Log in to your hosting control panel and open the app installer.
- Choose WordPress and click "Install".
- Select the
https://protocol and your domain. Leave the directory empty if you want the site atexample.roitself, not atexample.ro/wp. - Fill in the site title, an admin username (not "admin"), a strong password and an e-mail address you actually read.
- Choose Romanian if you want the admin area in Romanian.
- Start the installation. After about a minute you get the link to your admin area, which looks like
example.ro/wp-admin.
The installer creates the database, its user and the configuration file for you, so there's nothing technical to touch.
Option 2: manual installation
This is useful if your panel has no installer, or if you want to know exactly what's going on. It's also the method in the official WordPress documentation.
1. Download WordPress
Get the archive from wordpress.org/download and unzip it. You'll get a folder called wordpress.
2. Create the database
In your hosting control panel, in the MySQL/MariaDB databases section:
- create a new database;
- create a user with a strong password;
- give that user all privileges on the database;
- write down the database name, the user, the password and the server (most often
localhost).
3. Prepare wp-config.php
Rename wp-config-sample.php to wp-config.php and fill in DB_NAME, DB_USER, DB_PASSWORD and DB_HOST. In the same file, replace the secret keys ("authentication unique keys and salts") with fresh values from the generator page linked in the file. This step is optional: if you skip it, the WordPress installer asks for your database details and creates the file for you.
4. Upload the files
Using the panel's file manager or FTP/SFTP, upload the contents of the wordpress folder (not the folder itself) to your site's root, often public_html.
5. Run the installer
Open https://example.ro/wp-admin/install.php, choose your language and fill in the title, username, password and e-mail. Done: you can log in.
First settings after installing
Set aside 15 minutes for the list below. It saves you trouble later.
- Permalinks. In Settings → Permalinks, choose "Post name". Your addresses then look like
example.ro/how-to-choose-hosting/, which is easier to read for people and search engines. Do this at the start, before any links get shared. - Timezone. In Settings → General, choose "Bucharest" rather than a fixed offset such as UTC+2, so the clock switches to and from summer time on its own. That's also where you set the date format and site language.
- The admin user. If you ended up with an "admin" account anyway, create a new administrator with a different name, log in with it and delete the old account, attributing its content to the new one. The WordPress docs warn that names like "admin" or "webmaster" are the first ones attackers try.
- Unused plugins and themes. Delete plugins you don't use (deactivating isn't enough) and themes you don't need. Keep your active theme and perhaps one default theme as a fallback.
- Sample content. Delete the "Hello world!" post, the sample page and the test comment.
- Search engine visibility. While you're building the site, you can tick the option in Settings → Reading that discourages indexing. Don't forget to untick it at launch.
- Updates. Install any available updates for WordPress, themes and plugins straight away, then check for them regularly.
- Backups. Backups are your responsibility. Set up a backup plugin or use your control panel's tools, and keep a copy outside your hosting too.
HTTPS: your site should start with https://
The WordPress documentation recommends using HTTPS for the admin area, so passwords and data travel encrypted. Browsers flag sites without HTTPS as "not secure" anyway. Here's what to do:
- Enable an SSL certificate for your domain in your hosting control panel. Check which options your plan includes.
- In Settings → General, make sure "WordPress Address" and "Site Address" start with
https://. - Set up an automatic redirect from
http://tohttps://. Many panels have an option for this, or you can do it in.htaccess. - Open your site and check for the padlock in the address bar. "Mixed content" warnings mean some images or scripts still load over
http://.
In short: the checklist
- Your domain points to your hosting and the SSL certificate is active.
- WordPress is installed, with the installer or by hand, directly on
https://. - The administrator isn't called "admin" and has a strong password.
- Permalinks are set to "Post name" and the timezone is Bucharest.
- Unused plugins, themes and sample content are deleted.
- Everything is up to date, and you have a backup plan.
Looking for a home for your new site? See our WordPress hosting plans. If you get stuck during installation, e-mail us at [email protected].